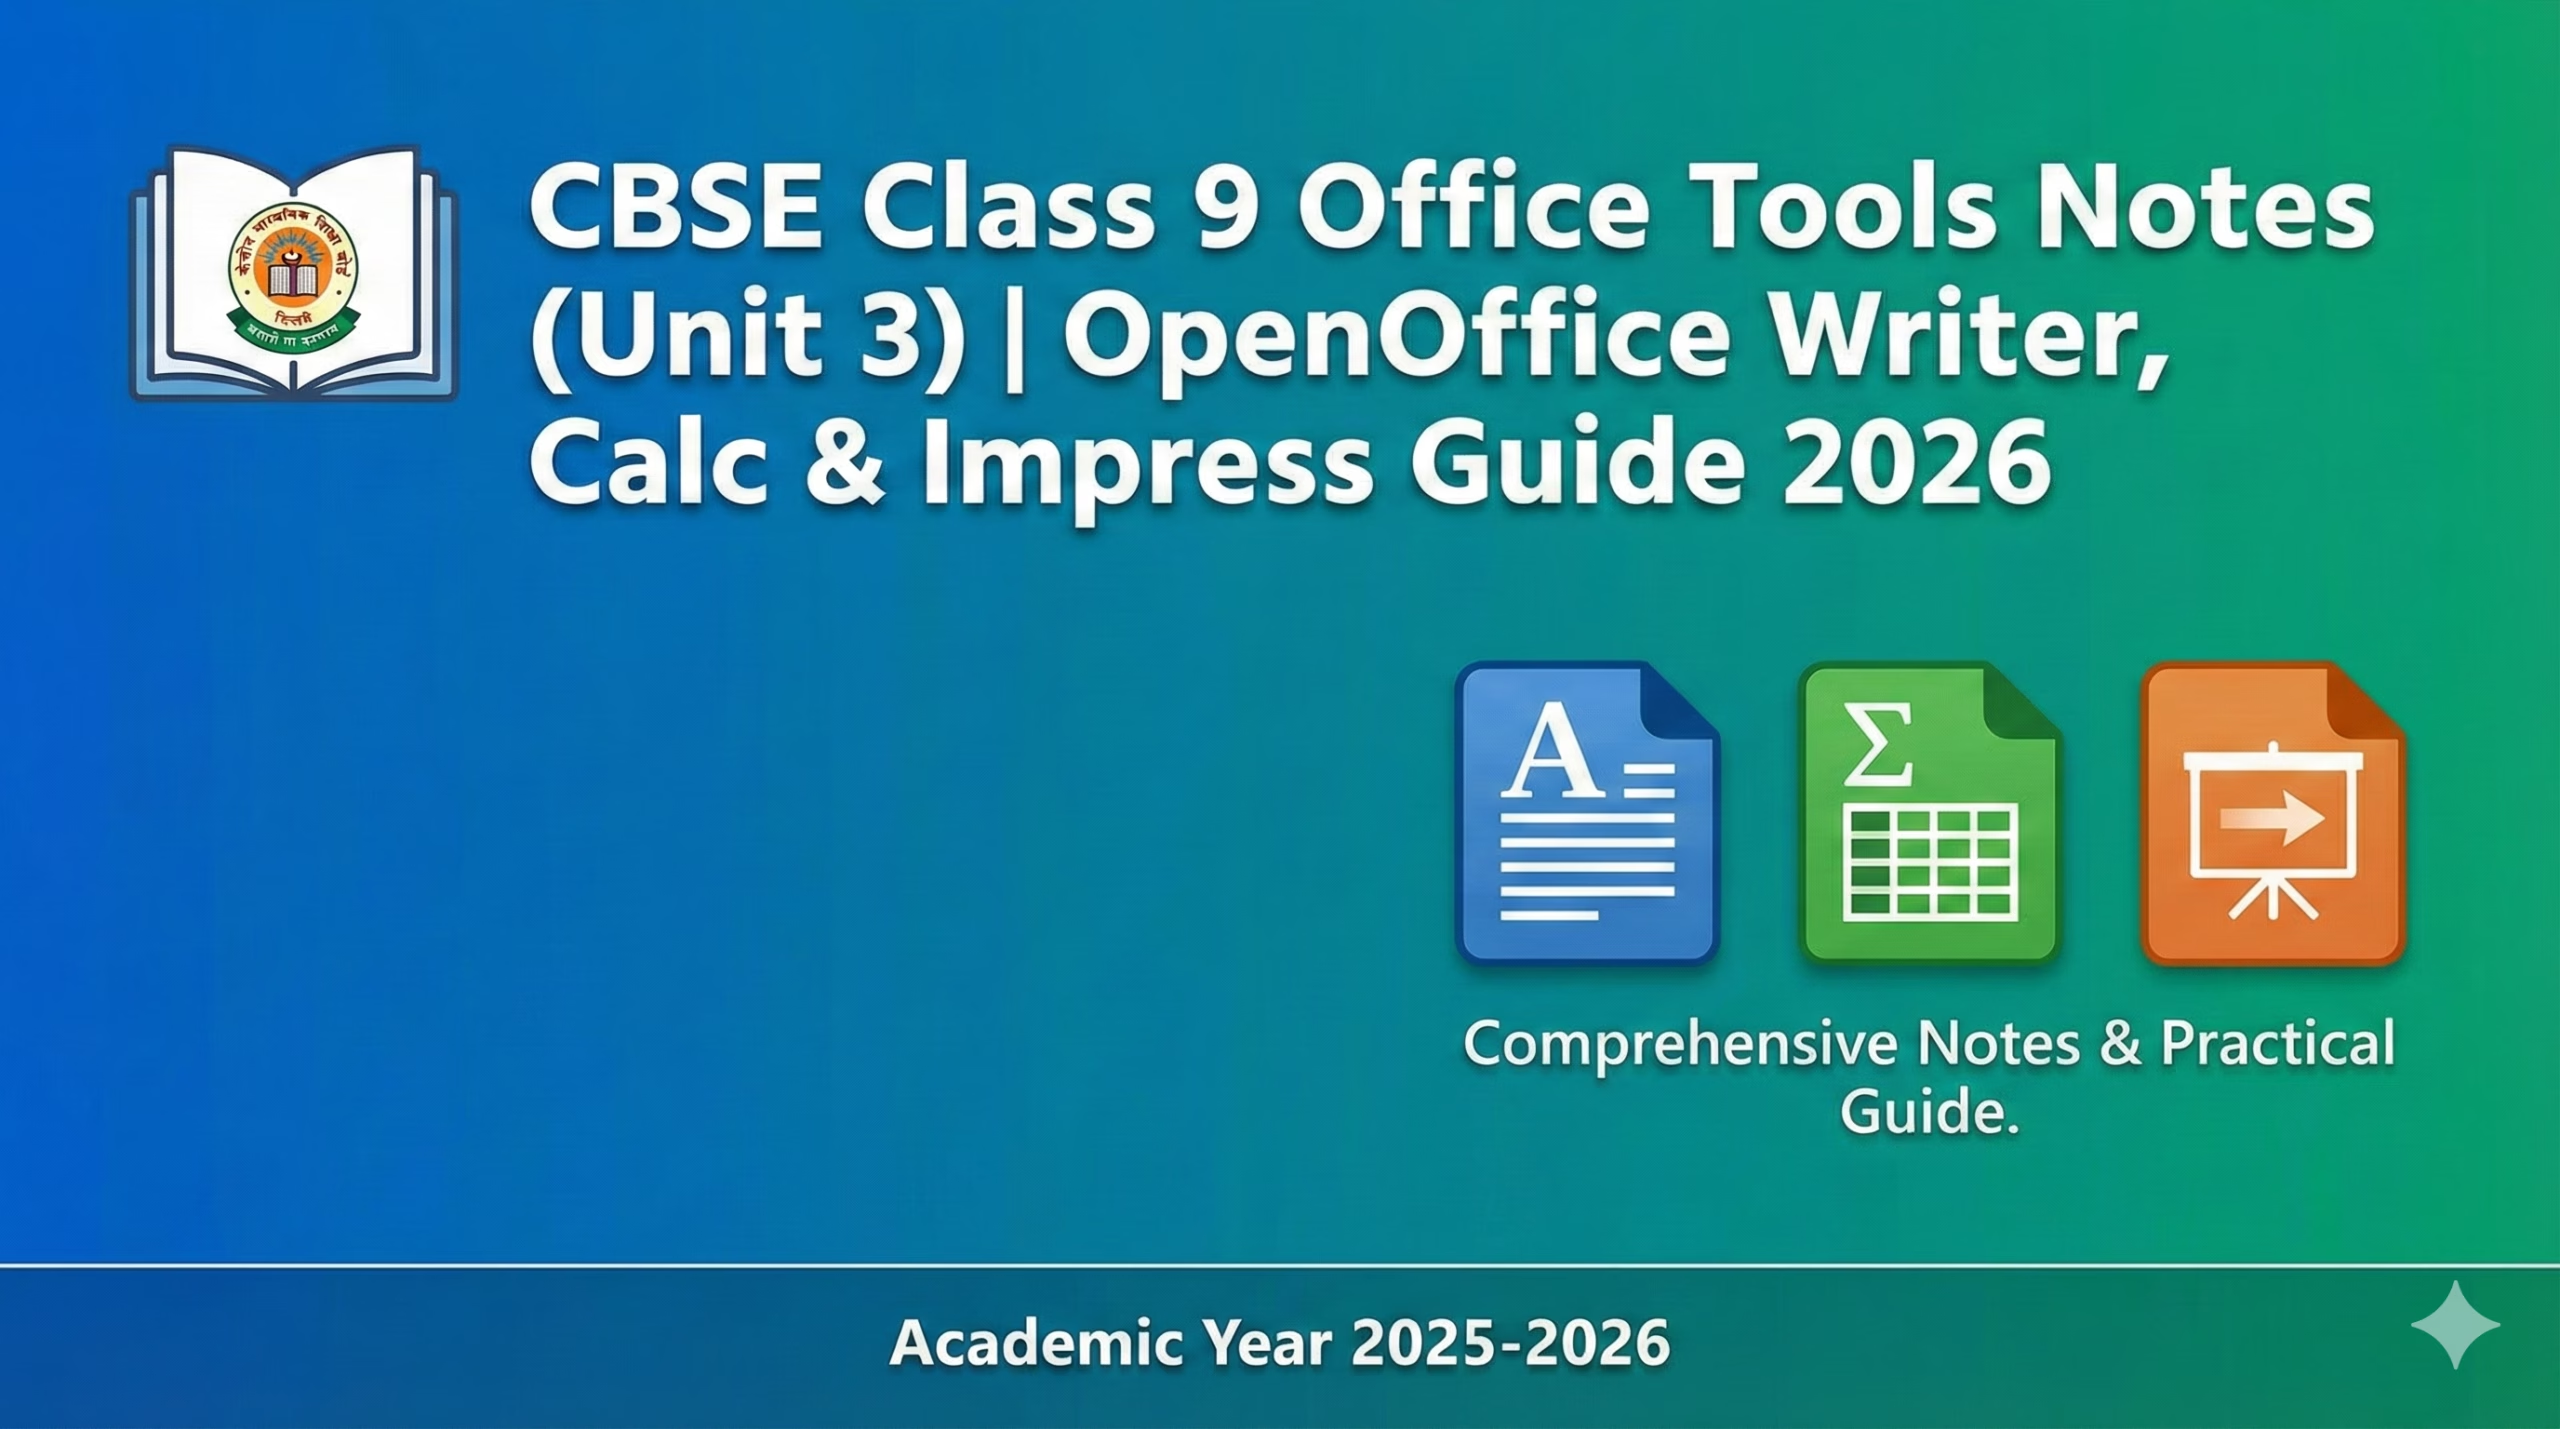
CBSE Class 9 Office Tools Notes (Unit 3) | OpenOffice Writer, Calc & Impress Guide 2026
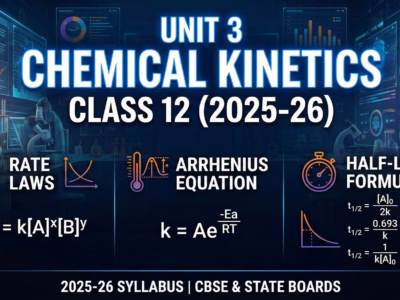
Unit 3: Office Tools stands as the operational backbone of the CBSE Class 9 Computer Applications (Code 165) curriculum. With 15 marks allocated to theory and a significant role in the 50-mark practical assessment, command over these applications is mandatory for high scores. This guide breaks down Apache OpenOffice into its three core components: Writer for document creation, Calc for data analysis, and Impress for visual presentations.
Try our mock test here: Exam Test
Rather than just listing menus, we examine the specific logic required for the 2025-26 exams—from distinguishing between relative and absolute referencing in spreadsheets to configuring slide masters for consistent presentations. Whether you are debugging a #DIV/0! error in Calc or formatting a formal letter in Writer, this resource provides the direct commands, shortcuts, and conceptual clarity needed to clear both the written paper and the lab viva.
Mastering Office Tools
CBSE Class 9 Unit 3 Guide
Unit 3 of the Computer Applications curriculum connects theoretical computer science with practical utility. Allocated 15 marks for theory and driving the bulk of the 50-mark practical component, this unit serves as the operational core of the course. The curriculum focuses on OpenOffice.org (Apache OpenOffice) to foster universal computing principles rather than vendor-specific workflows.
Quick Reference Filter
Select a tool to see specific commands and file formats.
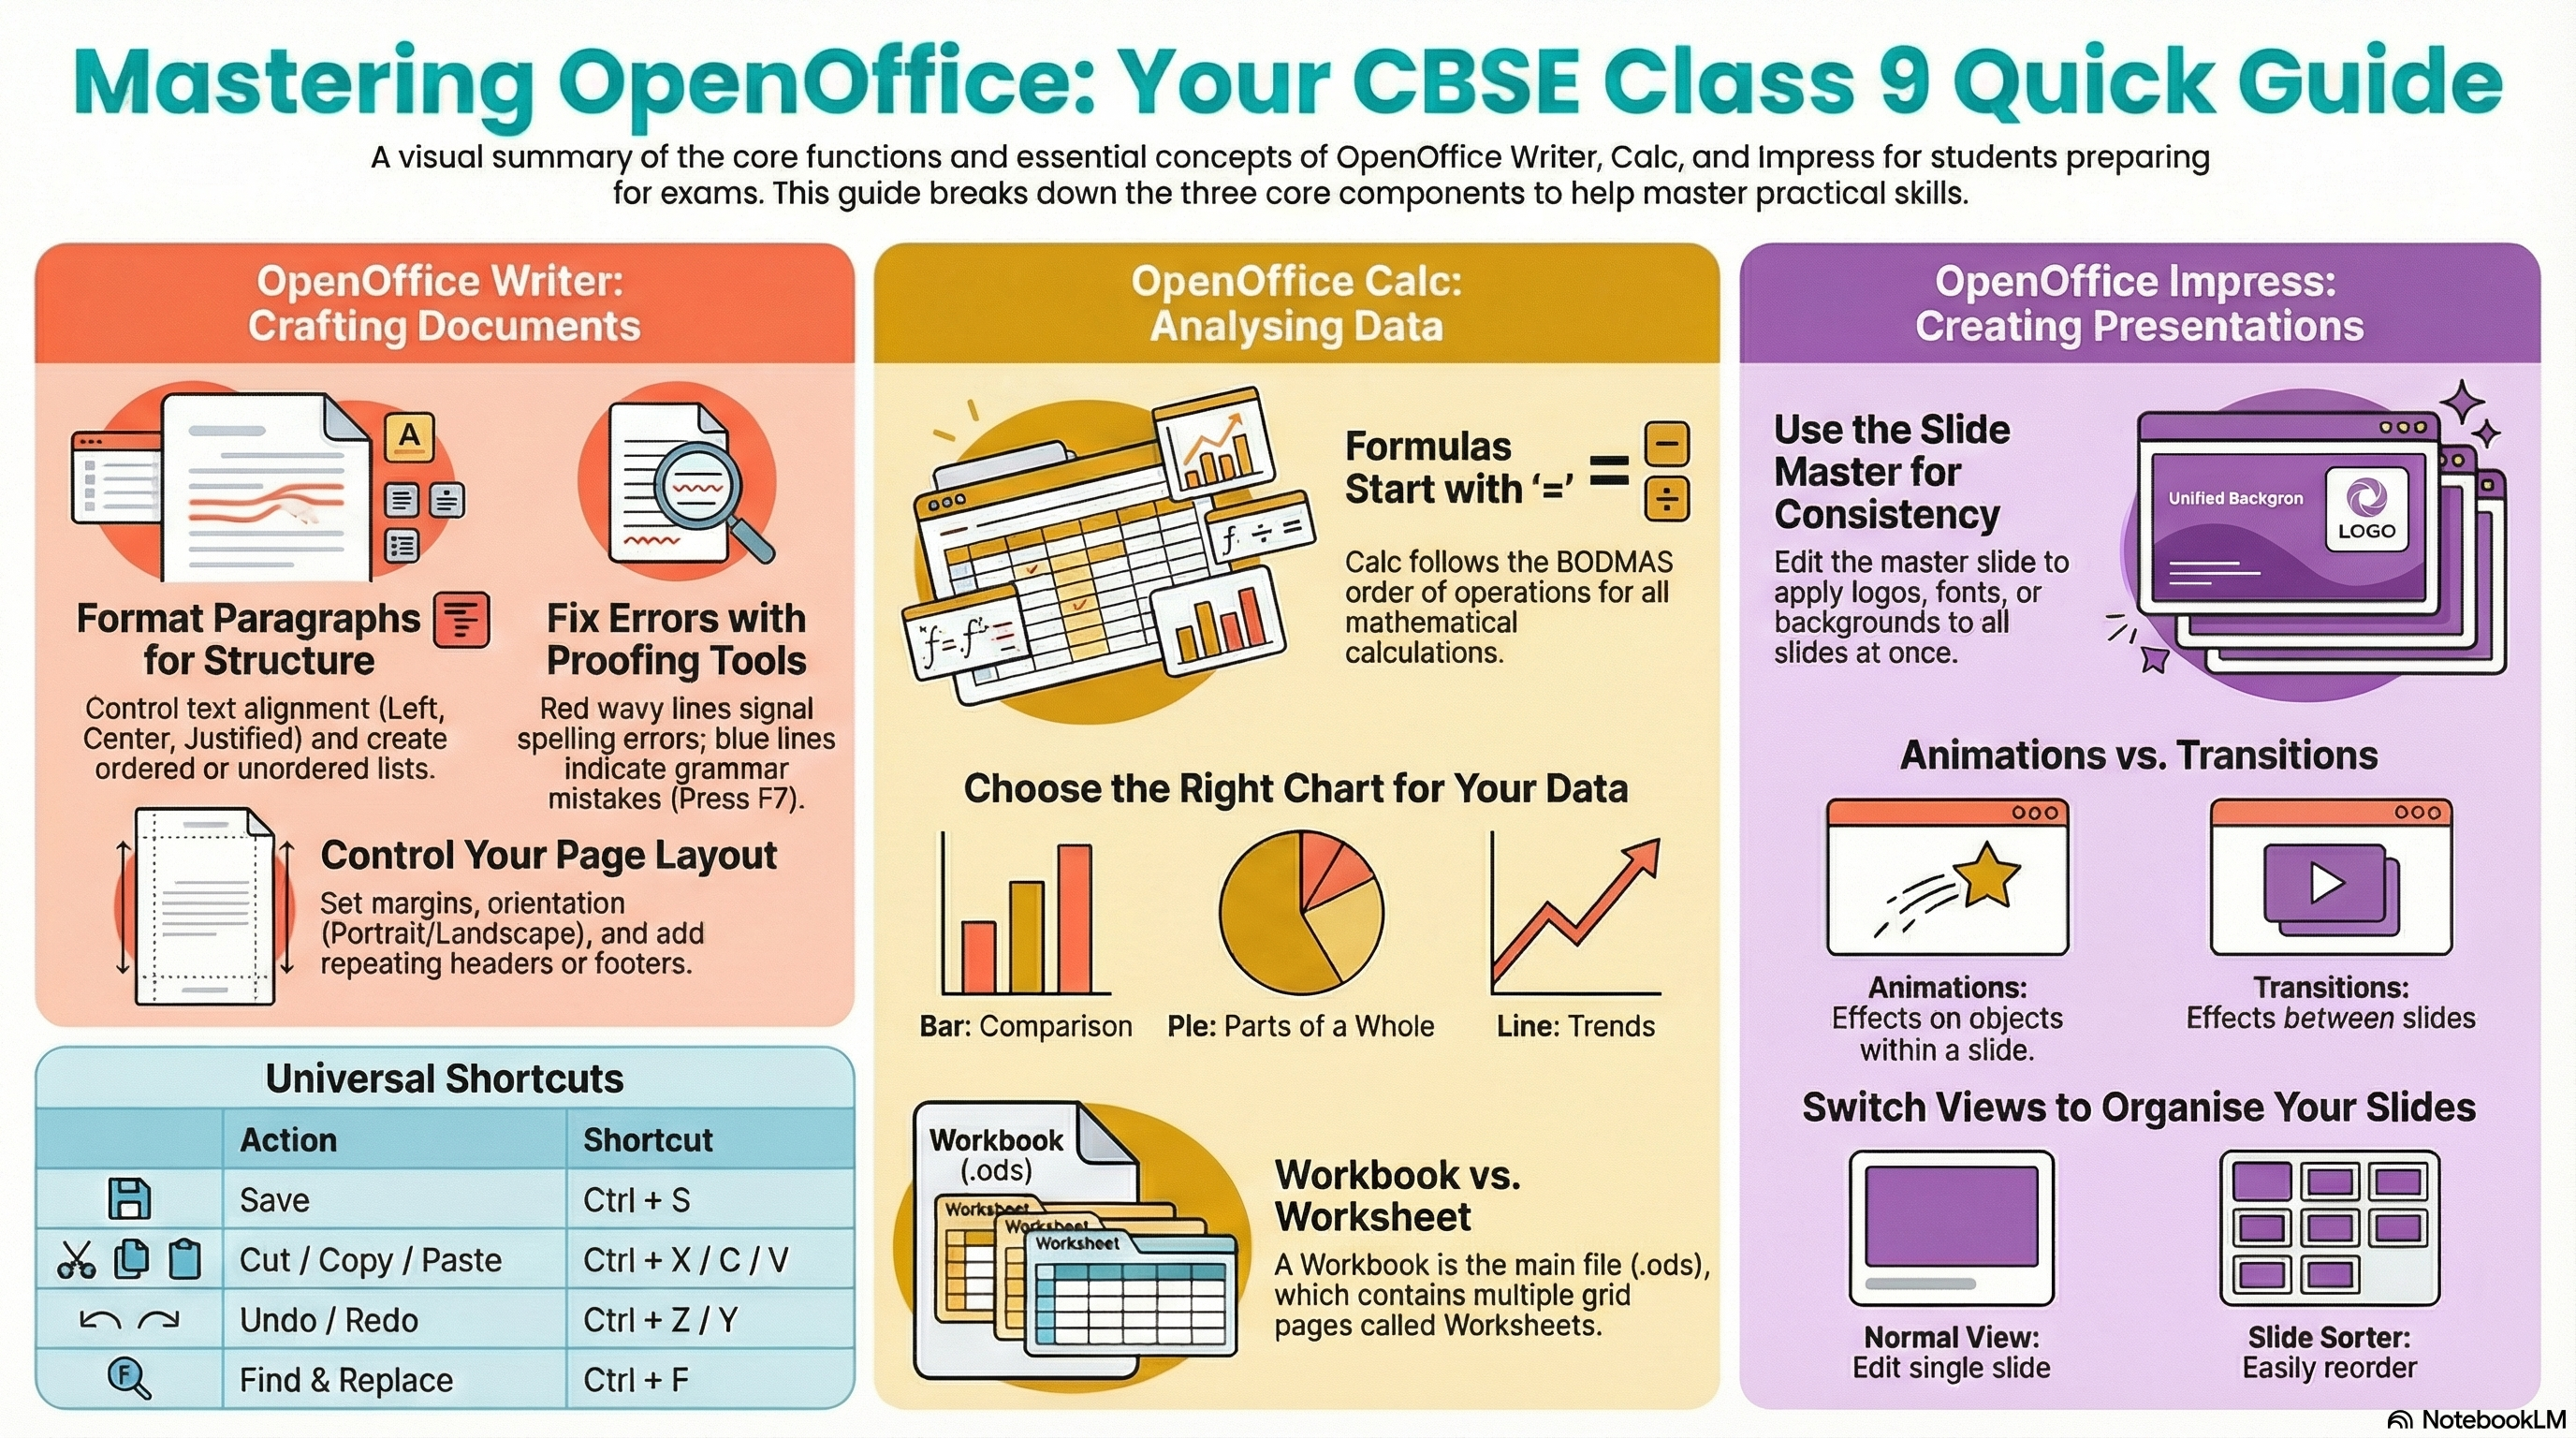
Word Processing: The Digital Typesetter
OpenOffice Writer acts as the primary tool for document creation. Unlike ribbon-based interfaces, OpenOffice uses a traditional Menu and Toolbar interface. Understanding this distinction helps students locate commands through text-based menus like Format > Character rather than visual tabs.
Interface Anatomy
Interactive Diagram: Hover over elements to see their names (Simulated).
1. Paragraph Formatting
Paragraph settings affect blocks of text. Access these via Format > Paragraph.
- Bullets: Unordered items (Groceries).
- Numbering: Ordered steps (Recipes).
- Nested Lists: Use ‘Tab’ to demote (indent) and ‘Shift+Tab’ to promote.
Proofing Tools
The application uses wavy lines to indicate potential errors.
- Red Wavy Line: Spelling Error (Not in dictionary).
- Blue Wavy Line: Grammar Error (Structure).
Symbols & Find
Insert > Special Character. Use for ©, ™, € or mathematical symbols like ±, ÷.
Edit > Find & Replace (Ctrl+F). Use to swap words (e.g., change “colour” to “color”) throughout the document instantly.
2. Visual Design & Objects
Borders & Shading
Add emphasis to text.
- Paragraph Border:
Format > Paragraph > Borders. Applies a box around the text block. - Page Border:
Format > Page > Borders. Decorates the entire sheet.
Graphics Wrapping
Sit amet.
3. Page Formatting
Spreadsheets: Analytical Logic
OpenOffice Calc uses a grid system to manage numbers. A crucial concept is the distinction between data types.
Labels (Text)
Left-aligned by default. Cannot be used in calculations.
Values (Numbers)
Right-aligned by default. Used for math.
Formulas
Must start with =. Returns a result.
Workbook Structure & Management
- Workbook: The file itself (e.g.,
budget.ods). - Worksheet: The individual grid pages inside the file.
- A workbook contains multiple worksheets (Sheet1, Sheet2, Sheet3).
Mathematical Operators & BODMAS
| Operator | Action | Example |
|---|---|---|
| ^ | Exponent | 2^3 = 8 |
| * | Multiply | 5*2 = 10 |
| / | Divide | 10/2 = 5 |
| + | Add | 4+4 = 8 |
Calc follows the order of operations (BODMAS).
- Multiplication happens first:
2 * 3 = 6 - Addition happens second:
5 + 6 = 11 - To get 21, use brackets:
=(5+2)*3
The Power of AutoFill
Referencing Visualizer
Chart Selection Strategy
Presentations: Visual Storytelling
Master Slides & Watermarks
The Slide Master controls the template for all slides.
Go to View > Master > Slide Master. Changes here (e.g., adding a logo) reflect on every slide.
In Master View, insert an image or text object. Right-click > Arrange > Send to Back. Set transparency to 50%+.
View Modes
The main editing mode for designing individual slides.
Thumbnails in a grid. Best for reordering slides via drag-and-drop.
Advanced Presentation Skills
Animations vs. Transitions
- Transitions: Between slides (e.g., Wipe).
- Animations: On objects (e.g., Text Fly In).
Rehearse Timings
Automate a slide show via Slide Show > Rehearse Timings.
The Keyboard Power-User
Universal Shortcuts
Tool Specific
Exam Glossary: Key Terms
GUI (Graphical User Interface)
A visual way of interacting with a computer using windows, icons, and menus, rather than text commands.
WYSIWYG
“What You See Is What You Get”. The document on screen looks exactly like the final printed output.
Word Wrapping
The automatic movement of text to the next line when it reaches the margin, without pressing Enter.
Cell Pointer / Active Cell
The currently selected cell in a spreadsheet, outlined with a thick border.
Range
A rectangular block of selected cells, referenced by top-left and bottom-right (e.g., A1:C5).
Slide Layout
The arrangement of placeholders for text, charts, and images on a slide.
Printing Mastery
Writer Output
Print Preview: File > Page Preview. Check before printing.
Page Range: Use “1-5, 8” to print specific pages.
Calc Output
Print Ranges: Select table > Format > Print Ranges > Define.
Fit to Page: Use Format > Page > Sheet tab to scale output.
Impress Output
Handouts: Change “Print Content” to Handouts in Print dialog.
Layout: Select 2, 4, or 6 slides per page.
Viva Voce Preparation
Common questions asked during the practical exam.
Q: What is the default extension for Writer?
A: .odt (OpenDocument Text). MS Word uses .docx.
Q: Define a ‘Cell’ in Calc.
A: Intersection of a Row and Column. Identified by address (e.g., A5).
Q: Purpose of ‘Master Slide’?
A: To store the template information (fonts, background) for the entire presentation.
Q: What is Conditional Formatting?
A: Changing cell appearance (color) automatically based on cell value (e.g., Red if < 33).