CBSE Class 10 – AI – Chapter 7
Python for AI: A Foundational Guide to Jupyter, Virtual Environments, and Core Syntax
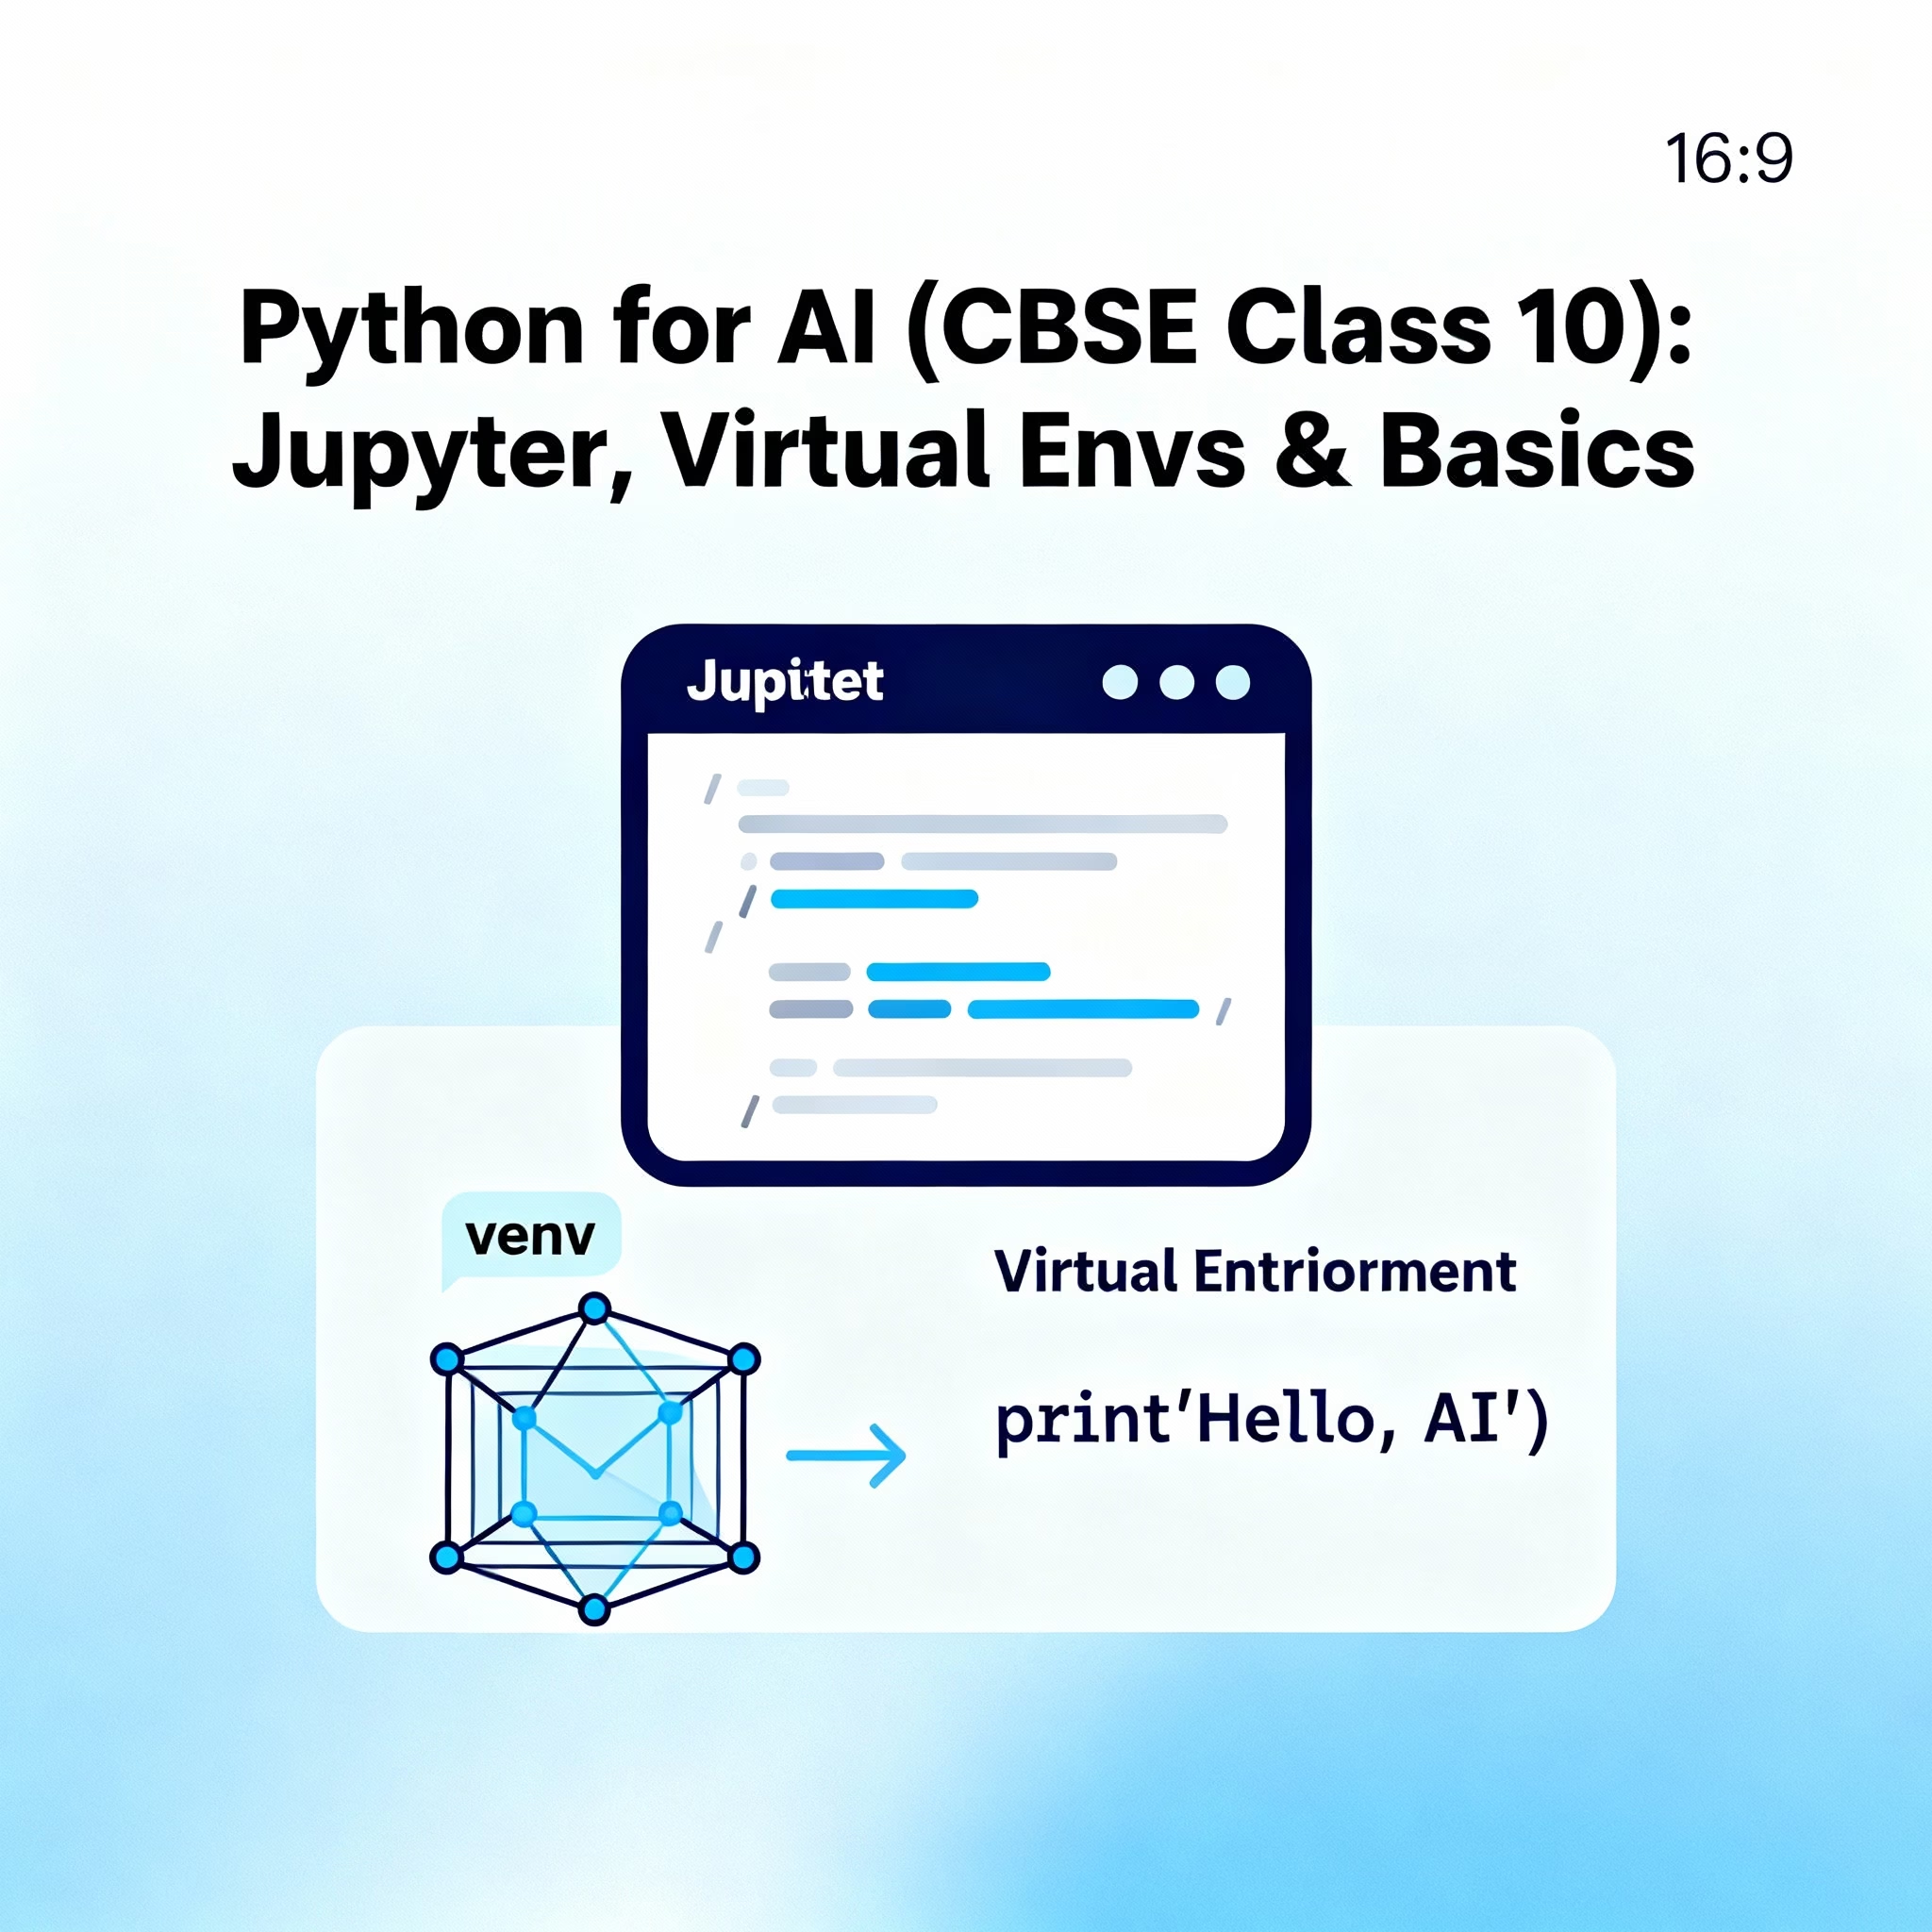
Learn how to set up your professional workbench for Artificial Intelligence, Data Science, and Machine Learning using industry-standard tools.
The ‘AI Lab’: Setting Up Your Digital Workbench
Developing Artificial Intelligence applications is different from standard software development. While a simple text editor works for basic .py scripts, AI and data science are based on experimentation, data exploration, and testing. This process requires a proper “digital workbench.”
Why Python? A Look at the AI Ecosystem
Python is the main language for AI, chosen by the scientific community for its clear syntax and its vast ecosystem of open-source libraries. These libraries provide the building blocks for machine learning, data analysis, and visualization.
The standard setup for this workbench uses Python, Jupyter Notebooks, and Anaconda. These tools are used by professionals and researchers. This guide explains how to assemble this workbench and why each part is necessary.
Why This Specific Setup?
The choice of these tools supports the AI development process. Each component has a specific purpose.
- Python: The main language for AI. It has many open-source libraries (e.g., TensorFlow, PyTorch, OpenCV) that are building blocks for machine learning.
- Jupyter: The “lab notebook” for the modern scientist. AI development involves trying ideas and exploring data. Jupyter provides an interactive place to write code, see results, visualize data, and write notes, all in one file.
- Conda: The “lab manager.” AI projects require specialized software libraries that can conflict. Conda is a tool that manages this complexity by keeping each project isolated. This ensures all dependencies are correct and results can be reproduced.
What is a Jupyter Notebook?
A Jupyter Notebook is an open-source, web-based application. It lets you create and share a single document that combines live code, equations, visualizations, and narrative text. This document, saved as an .ipynb file, is a “computational story.”
Why Jupyter is Used for AI
- Interactive Prototyping: It allows a developer to run code one step at a time and get immediate feedback. You can load data in one step, clean it in the next, and visualize it in a third, all without restarting the program.
- A Live Experiment Record: A notebook becomes a detailed log of an experiment. It shows the thought process, the data-driven decisions, and the results. This is vital for reproducibility and collaboration.
- Integrated Storytelling: Jupyter combines code, text, images, and plots into a single document. This makes it a powerful tool for communicating data-based findings.
The “Brain” of the Notebook: The Kernel
The kernel is the “computational engine” responsible for running your code. The Jupyter Notebook you see in your browser is the frontend. The kernel is a separate program (process) that runs in the background.
This separation is important:
- Kernels are Language-Specific: The Jupyter frontend can work with many languages. The kernel is specific. There are kernels for Python (called “IPython”), R, Julia, and others. The name “Jupyter” comes from its core languages: Julia, Python, and R.
- Kernels are Stateful: The kernel remembers everything. Any variable, function, or import defined in one cell continues to exist in the kernel’s memory for other cells to use.
- Kernels are Isolated: Each open notebook connects to its own kernel. One notebook cannot see the variables in another.
Infographic: Kernel Architecture
Jupyter Frontend
(Your Web Browser)Kernel (Backend)
(e.g., IPython Process)Code Execution
(Variables, Output)The frontend and kernel are separate processes that communicate with each other.
Infographic: Exploring the Jupyter Interface
When you open a notebook, you will see three main parts. This diagram breaks them down.
1. Menu Bar
Top-level actions (File, Edit, Kernel).
- File: Save, Rename, Download.
- Kernel: Restart, Change Kernel.
2. Toolbar
Icon-based shortcuts for common tasks.
- [ + ] : Add a new cell.
- [ ▶ Run ] : Run the current cell.
- [ ■ ] : Stop/Interrupt the kernel.
3. Cell Type Selector
Dropdown to switch cell modes.
- Code: For writing Python.
- Markdown: For writing text.
4. Cells (The Notebook)
The main work area, made of two types of cells:
Code Cell
Has In [ ]: label. This is where you write and run Python code.
Markdown Cell
No label. This is where you write notes, headings, and explanations.
What is a Virtual Environment?
Before setting up the workbench, you must understand why we build isolated “rooms” for our projects.
The Core Problem: Dependency Conflicts
Imagine two different AI projects:
- Project A (Computer Vision): Needs
pandas==1.5.0andtensorflow==2.5. - Project B (NLP): Needs
pandas==2.0.2andpytorch.
If you install all packages “globally” (on your main system), this is impossible. Installing pandas==2.0.2 for Project B will overwrite the version Project A needs, breaking it. This is known as a dependency conflict.
Infographic: The Dependency Problem and Solution
Problem: Global Installation
(Needs lib 1.0)
❌ Fails
(Needs lib 2.0)
✔ Works
Installed: lib==2.0 (Breaks Project A)
Solution: Virtual Environments
lib==1.0Project A
✔ Works
lib==2.0Project B
✔ Works
Each project is isolated with its own dependencies.
Why Anaconda (conda)? The Data Scientist’s Choice
Python has a built-in tool called venv, but data scientists prefer conda. The reason is that venv only manages Python packages.
AI development often involves complex non-Python dependencies, like NVIDIA’s CUDA libraries (for GPU processing). conda is language-agnostic. It can install and manage Python, C++ libraries, R, and even CUDA, all within one environment. It solves the *entire* dependency problem, not just the Python part.
Comparison: venv vs. conda
| Feature | venv (with pip) |
conda (Anaconda/Miniconda) |
|---|---|---|
| Manages | Python packages only | Any software package (Python, R, C++, CUDA, etc.) |
| Included with Python | Yes (Python 3.3+) | No (Requires separate Anaconda/Miniconda installation) |
| Environment Scope | Manages environments and installs packages (pip) | Manages environments and packages (all-in-one) |
| Best For | Simple Python scripts, web development | Data Science, AI, Machine Learning |
The Setup Guide: Installing Your AI Workbench
We will use the Anaconda Distribution. This is a large installer that comes with Python, conda, Jupyter, and hundreds of common data science packages pre-installed.
Installation Guide (Windows)
- Step 1: Go to the official Anaconda website and download the “64-bit Graphical Installer” for Windows.
- Step 2: Run the downloaded
.exefile and click “Next.” - Step 3: Agree to the License Agreement.
- Step 4: Choose “Just Me” (Recommended). The “All Users” option can cause permission issues. Click “Next.”
- Step 5: Choose an install location (the default is usually fine). Click “Next.”
- Step 6: Advanced Options (Critical).
-
[ ] Add Anaconda3 to my PATH environment variable:
DO NOT CHECK THIS BOX. The installer warns against this. It can interfere with other software. The correct way to access
condais via the “Anaconda Prompt.” - [X] Register Anaconda3 as my default Python: LEAVE THIS CHECKED. This is the default. It allows programs like VSCode to find your Anaconda installation without changing your system PATH.
-
[ ] Add Anaconda3 to my PATH environment variable:
DO NOT CHECK THIS BOX. The installer warns against this. It can interfere with other software. The correct way to access
- Step 7: Click “Install” and wait for it to complete.
- Step 8: Click “Next” and “Finish.” You can skip offers to install other software.
Verifying Your Installation
To use conda, you must use the special terminal installed by Anaconda.
- Go to the Windows Start Menu.
- Type “Anaconda Prompt” and select it.
- A terminal window will open. You should see
(base)at the beginning of your prompt. This means it worked. - Type
conda --versionand press Enter to confirm.
How to Manage Your AI Projects (The Core Workflow)
Managing environments involves a few simple commands. Here is the standard workflow for every new project.
Conda Command Finder
Use the filters to find the commands you need.
conda create --name myenv python=3.9Action: Creates a new, isolated environment named myenv with Python 3.9 installed.
conda activate myenvAction: Activates the environment. Your prompt will change from (base) to (myenv).
conda deactivateAction: Deactivates the current environment and returns you to the (base) environment.
conda info --envsAction: Lists all environments on your system. The active one is marked with an asterisk (*).
conda env remove --name myenvAction: Completely deletes the environment and all packages inside it.
Linking Your Environment to Jupyter (The ipykernel Trick)
This is the most common problem for beginners. You create and activate myenv, install pandas, and type jupyter notebook. The notebook opens, but import pandas fails.
This happens because the Jupyter application (running from base) only knows about the base kernel. It is unaware your new environment exists.
The Solution: You must explicitly register your new environment as a kernel that Jupyter can see.
Infographic: The Kernel Registration Workflow
This diagram shows the 5-step process to correctly link a new environment to Jupyter.
Create
Build the new env “room”.
conda create ...
Activate
Enter the “room”.
conda activate ...
Install Kernel
Install a “phone” in the room.
conda install ipykernel
Register
Add the “phone number” to Jupyter’s contacts.
python -m ipykernel ...
Run Jupyter
Jupyter can now “call” the new kernel.
jupyter notebook
Correct Project Workflow:
- Open Anaconda Prompt. (You are in
(base)). - Create the environment:
conda create -n ai-class-10 python=3.9 - Activate the environment:
conda activate ai-class-10 - Install the kernel tool (inside the new env):
conda install ipykernel - Register the environment as a kernel:
python -m ipykernel install --user --name=ai-class-10 --display-name="Python (AI Class 10)" - Deactivate (to return to
base):
conda deactivate
Now, from your (base) prompt, type jupyter notebook. When the application opens, you can go to the “Kernel” menu, select “Change Kernel,” and “Python (AI Class 10)” will be in the list. This guarantees your notebook is connected to the correct, isolated environment.
Python Basics Refresher (Your First Notebook)
This section covers the fundamental Python syntax you will use in your first code cells.
Code Cell 1: Comments (Code that *doesn’t* run)
Comments clarify code and are not interpreted by Python. Single-line comments start with a hash (#).
# This is a single-line comment.
spam = 1  # This is an inline comment

"""
This is a multi-line string literal.
It is NOT a comment, but is often used as one,
especially for function "docstrings."
"""
Code Cell 2: Variables (Boxes for your data)
A variable is a name used to store data. You assign a value to a variable using the equals sign (=).
# Variables: A name assigned to a value
student_name = "Aisha"
age = 15
project_score = 92.5
is_ai_student = True
Code Cell 3: The print() Function (Seeing your output)
The print() function displays values on the screen. In Python 3, print must be called with parentheses ().
# Using the print() function
print("Hello, World!")

# Printing variables
print(student_name)

# Printing multiple items (a space is added automatically)
print(student_name, "is", age, "years old.")

# Using f-strings (The modern, preferred method)
print(f"{student_name} is {age} years old.")
Code Cell 4: Keywords (Python’s Reserved Words)
Keywords are reserved words that have a special meaning in Python. You cannot use a keyword as a variable name.
| Keywords | Purpose |
|---|---|
True, False, None |
Represent truth, falsehood, and the absence of a value. |
if, elif, else |
Making decisions in your code. |
for, while |
Looping over sequences or until a condition is met. |
break, continue |
To alter the flow of a loop. |
def, class |
Used to define a function or a class. |
return, yield |
To exit a function, sending back a value. |
import, from |
To bring in code from other libraries. |
Code Cell 5: Basic Data Types
All variables have a “type.” Python automatically figures out the type when you assign a value. The most common types are:
# String (text)
my_string = "Hello"

# Integer (whole number)
my_int = 100

# Float (decimal number)
my_float = 7.5

# Boolean (True or False)
my_bool = True

# You can check a variable's type with the type() function
print(f"The type of my_string is: {type(my_string)}")
print(f"The type of my_int is: {type(my_int)}")
Code Cell 6: Basic Operators
Operators are symbols that perform operations. The most common are arithmetic and comparison operators.
# Arithmetic Operators
a = 10
b = 3
print(f"Addition: {a + b}")       # 13
print(f"Subtraction: {a - b}")     # 7
print(f"Multiplication: {a * b}") # 30
print(f"Division: {a / b}")         # 3.333...

# Comparison Operators (these return a Boolean)
x = 5
y = 10
print(f"Is x equal to y? {x == y}")     # False
print(f"Is x not equal to y? {x != y}") # True
print(f"Is x greater than 3? {x > 3}")  # True
Code Cell 7: Simple Data Structures (A Quick Look)
Data structures let you store and organize multiple values. The two most common are lists and dictionaries.
# A List: An ordered collection, created with []
# Used to store a sequence of items.
student_grades = [85, 92, 78, 95]
print(f"The second grade is: {student_grades[1]}") # 92 (Python is zero-indexed)

# A Dictionary: An unordered collection of key-value pairs, created with {}
# Used to store related pieces of information.
student_info = {
    "name": "Rohan",
    "age": 16,
    "subject": "AI"
}
print(f"{student_info['name']} is studying {student_info['subject']}.")
Interactive Asset: Your Starter Notebook
To help you begin, a “starter notebook” (a .ipynb file) is often provided. You would download this file, place it in your project folder, and open it with Jupyter.
Below is the content you would find inside a typical starter notebook for this chapter. It combines Markdown cells for instructions and Code cells for you to fill in.
Contents of starter_notebook.ipynb:
{
 "cells": [
  {
   "cell_type": "markdown",
   "source": [
    "# Chapter 7: Python Basics Starter Notebook\n",
    "\n",
    "Welcome to your first notebook! Remember to run each cell by pressing **Shift+Enter**."
   ]
  },
  {
   "cell_type": "markdown",
   "source": [
    "## 1. Print and Variables\n",
    "\n",
    "In the cell below, create a variable called `my_name` and assign your name to it. Then, print a sentence using that variable."
   ]
  },
  {
   "cell_type": "code",
   "source": [
    "# TODO: Create your variable\n",
    "my_name = \"\"\n",
    "\n",
    "# TODO: Print the sentence\n",
    "print(f\"Hello, my name is {my_name}\")"
   ],
   "outputs": []
  },
  {
   "cell_type": "markdown",
   "source": [
    "## 2. Data Types\n",
    "\n",
    "In the cell below, create one variable for each data type: `string`, `integer`, `float`, and `boolean`. Print the type of each variable."
   ]
  },
  {
   "cell_type": "code",
   "source": [
    "# TODO: Create your variables\n",
    "v_string = \"\"\n",
    "v_int = 0\n",
    "v_float = 0.0\n",
    "v_bool = True\n",
    "\n",
    "# TODO: Print the types\n",
    "print(type(v_string))\n",
    "print(type(v_int))"
   ],
   "outputs": []
  },
  {
   "cell_type": "markdown",
   "source": [
    "## 3. Simple List\n",
    "\n",
    "Create a list called `my_subjects` containing three of your school subjects. Print the entire list, and then print only the first subject."
   ]
  },
  {
   "cell_type": "code",
   "source": [
    "# TODO: Create the list\n",
    "my_subjects = []\n",
    "\n",
    "# TODO: Print the whole list\n",
    "\n",
    "\n",
    "# TODO: Print the first subject (remember zero-indexing!)\n"
   ],
   "outputs": []
  }
 ],
 "metadata": {},
 "nbformat": 4,
 "nbformat_minor": 5
}
Review: Quick Q&A
Test your understanding. Click the question to reveal the hint and the answer.
Q: What is the “kernel” in a Jupyter Notebook?
Hint: It’s the “brain” of the notebook.
A: The kernel is the “computational engine” that runs in the background. It is a separate process that actually executes the Python code sent from the notebook’s frontend (the browser). It also stores all variables in memory.
Q: Why should I use conda instead of Python’s built-in venv?
Hint: venv only manages one type of software.
A: You should use conda for AI and data science because it is language-agnostic. While venv only manages Python packages, conda can manage Python, C++ libraries, R, and even low-level hardware libraries like CUDA, all within the same isolated environment.
Q: I created a new conda environment and installed pandas, but Jupyter’s import pandas fails. Why?
Hint: Your Jupyter application doesn’t know your new environment exists.
A: This happens because the main Jupyter application (likely running from the base environment) is separate from your new environment’s kernel. You must first install ipykernel in your new environment and then use it to “register” your environment as a new kernel. After that, you can select your new kernel from the “Kernel” > “Change Kernel” menu in Jupyter.
Frequently Asked Questions (FAQs)
Do I need Anaconda or Miniconda?
Anaconda is a large, all-in-one installer that includes hundreds of data science packages. It is recommended for this curriculum because it’s “batteries included.” Miniconda is a minimal installer with only Python and conda. Experts prefer it to build environments from a clean slate, but it requires you to manually install everything, including Jupyter.
Why shouldn’t I add Anaconda to my system PATH?
Adding Anaconda to your system PATH permanently puts its version of Python (and other tools) first. This can conflict with other software on your computer that expects to find the system’s default Python. It breaks the whole point of isolation. Always use the “Anaconda Prompt” (on Windows) or initialize conda for your shell (on Mac/Linux) to manage your environments correctly.
What is the (base) environment?
The (base) environment is the default environment created by Anaconda when you install it. It contains the main conda program, the Anaconda Navigator, and (if you installed the full version) Jupyter and many other packages. It is a best practice to *not* install your project-specific packages into base. You should always create new, separate environments for each project to keep base clean and stable.
Next Steps
→ The Data Science Workflow
This setup is the starting point for all data science. The next step is to use this notebook environment to complete a simple data science project. This will involve using your ai-class-10 environment to install new packages (like pandas and matplotlib) and use them to load, analyze, and visualize your first dataset.
→ Preparing for CV & NLP Labs
The most important takeaway is the method of environment management. The reason for learning this setup is to prepare for the Computer Vision (CV) and Natural Language Processing (NLP) labs.
For those labs, you will not use the ai-class-10 environment. Instead, you will apply this new skill to create new, separate environments to prevent conflicts:
- For the CV Lab: You will run
conda create -n cv-laband install libraries likeopencvandpytorchinto it. - For the NLP Lab: You will run
conda create -n nlp-laband installnltkandtensorflowinto that one.
This “one environment per project” practice is key to managing complex, reproducible AI development.